Monday, June 7, 2021

Quilted Patriotic Star Pillow


patriotic quilted star pillow

Throw pillows are a quick and easy way to update your seasonal decor.  This one is perfect for the summer holidays - Memorial Day, Flag Day, 4th of July - but you could also make it with alternate colors for other holidays as well. It has four Sawtooth star blocks made from four fat quarters for the front (you could also easily use scraps for the stars) and finishes at around 18" square.  If you'd like to make one like mine, I'll link to the fabrics at the bottom of this post.  Here's how to make it:

MATERIALS NEEDED

Stars - (2) red fat quarters and (2) blue fat quarters (or scraps)

Background - 1/3 yd. cream or low volume print

Pillow back - gray fat quarter for solid pillow back OR 5/8 yd gray for envelope back

20" Square of fusible or thin batting

18" pillow insert or stuffing

10" design board (optional but helpful for piecing the stars)

CUTTING

From each red and blue fabric - 

Cut (1) 4.5" square

 Cut (8) 2.5" squares

From cream background fabric-

Cut (2) 2.5" x 20" strips and subcut into (16) 2.5" squares 

Cut (2) 4.5" x 20" strips and subcut into (16) 2.5" x 4 1/2" rectangles

Cut (2) 1.5" x 18.5" strips (not shown)

Cut (2)  1.5" x 16.5" strips (not shown)

lori holt fabrics for star pillow


MAKE STAR BLOCKS

For each star block:

Points - Make four "Flying Geese" units using the sew-and-flip method as shown: 


flying geese unit for star block


flying geese unit for star block


flying geese unit for star block

flying geese unit for star block

back of flying geese unit for star

Layout block like this.

exploded star block

Sew left sides to middles.

exploded star block


Sew right sides to the middles.

exploded star block


Press in the direction of the arrows.

pressing instructions for star block


Sew top, middle and bottom rows together, press seams open.

red sawtooth star quilt block

back of red sawtooth star quilt block


SEW PILLOW TOP TOGETHER

Sew blocks together, press, then sew 1.5" x 16.5" border strips on sides.  Press side strips outward, then sew 1.5" x 18.5" strips to top and bottom.  Press those outward.

patriotic star pillow top

patriotic star pillow top  

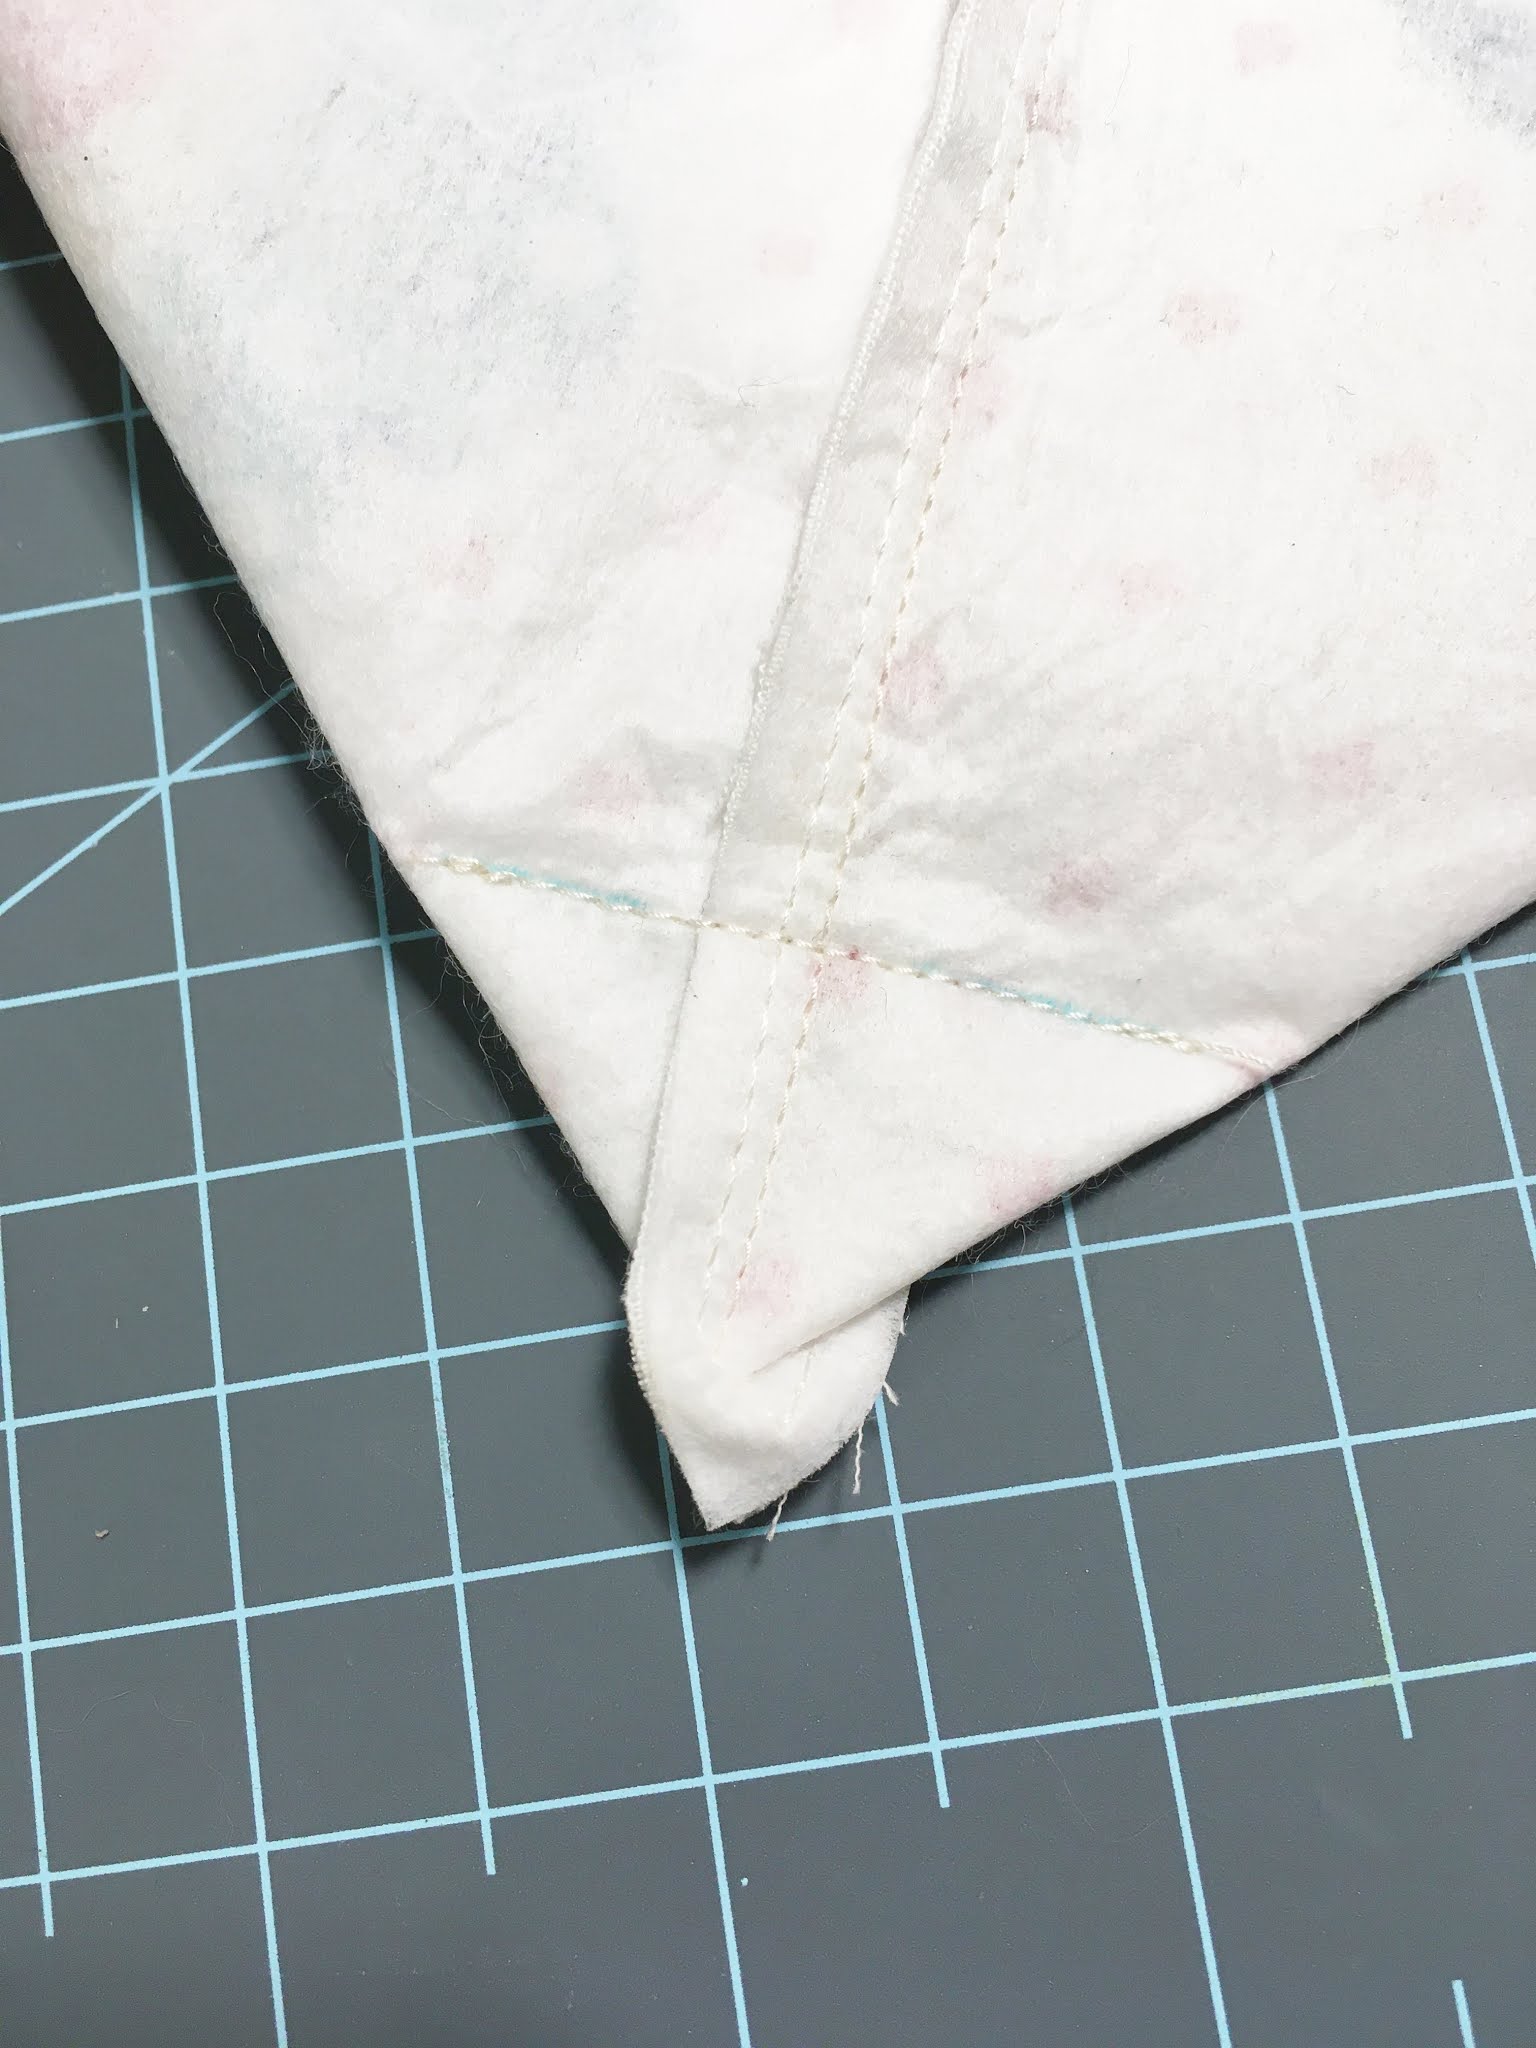
Fuse or baste your pillow front to your batting.  I didn't feel the need to add a backing layer because it wouldn't be seen and quilted just fine.  I quilted horizontal lines using a narrow stretch zigzag stitch approx. 3/4" apart.  

quilted patriotic star pillow top

quilted patriotic star pillow top closeup


Trim square (it will have "shrunk" a little to around 18-18.25" due to the quilting) 

For solid pillow back - from your pillow back fabric, cut a square the same size as the front, pin and sew around all four sides leaving a 12" opening at the bottom.  Turn right sides out, stuff with pillow form or stuffing and whipstitch closed.  

For envelope back - cut two pieces 24" x the width of your pillow (for example 24" x 18").  On each piece, fold one shorter side under 1" and press, then turn 1" again and press, and sew seam across the fold.

Place one of the pieces at the top of the pillow matching corners and raw edges (sewn edge will be toward the middle), pin in place.  

envelope back of star pillow


Place the other piece at the bottom of the pillow matching corners and raw edges (sewn edge toward the middle and overlapping the top piece).  Pin in place and sew all 4 outside seams. 

envelope back of star pillow

envelope back of star pillow


Turn right sides out and insert pillow form.  Here's how the back will look finished:  

envelope back of star pillow


patriotic star quilted pillow

Hope you enjoyed this tutorial and make one for yourself!  

As promised, here are links to the fabrics that I used:

Fat-quarter bundle for Stars and pillow back (if making solid pillow back)

Cream text fabric for background

Gray tulip fabric for envelope pillow back


Wednesday, March 3, 2021

Easy Panel Tote Bag Tutorial

applique panel tote bag

I love totes, they're so handy to throw your stuff into while running errands or taking a trip.  At 14.5" H x 15" W, this bag is just the right size for carrying your papers, books, tablet, or whatever stitching project you're working on. When I saw this panel from Lori Holt's Flea Market collection, I just knew it would make a cute bag!


applique panel

I lined the tote with fabric and fusible interfacing to give it some body.  It's washable and reversible too. It's easy to make, I'll show you how. 

What you'll need:

  • Bag front & back (and optional inside pocket) - one "applique" panel from the Flea Market collection by Riley Blake (or other cotton panel that would look good with (2) 16" squares cut out for the front and back), or 1/2 yard of fabric 
  • Interfacing - 1 Yard Pellon medium-weight fusible
  • Lining - 1/2 Yard coordinating cotton fabric (I used the text print from Flea Market)
  • Handles - 1/4 Yard coordinating cotton fabric (I used the red check from Flea Market
  • Lining of pocket (optional) - Scrap of light-colored fabric (you may have enough bag lining fabric for this
I suggest prewashing your fabrics so that they won't shrink while adhering the fusible interfacing (you'll be using steam to fuse it to the fabric).

CUT:  

(2) 16" square sections from the panel (or yardage) for the bag front and back.  (You may have to tug on the corners a bit to get the panel square.)
(2) 16" squares from the fusible interfacing
(2) 16" squares from the lining fabric
(2) 4" x 25" strips from the handle fabric 
(2) 2" x 25" strips from fusible interfacing (it's ok to piece shorter lengths together, overlap two ends together slightly and zigzig stitch) 
Optional pocket:  Cut one small "applique" square and one lining piece the same size

Fuse one 16" interfacing square to the back of each 16" panel square following manufacturer's instructions.

SEW:

Pin and sew fused panel squares right sides together along sides and bottom using a 3/8" seam allowance.  Sew another seam between that seam and the edges for added strength.


pin bag sides together

sew a second seam around edges


If you want boxed corners, fold bottom corners as shown, then draw a 2" line across the top of the "triangle", sew on that line.  Trim corners if desired (I didn't). 


how to make boxed corners


Turn bag right sides out and press seams to one side.  

For handles:  Fuse a 2" x 25" strip of interfacing to the wrong side of each strap piece down the middles,  Fold in 1" on each of the long sides, press.  Fold in half lengthwise, press.  Topstitch on each side of both straps. 


Attach ends of each handle to top edges of front and back of bag (handles facing down), centered, 5" apart. Baste in place.


attach handles to bag


For optional pocket:  Sew small applique square to matching lining square, right sides together.  Sew 1/4" seam all around, leaving 3" open at bottom for turning.  Clip corners, turn right sides out.  Turn raw edges of opening under, pin and sew closed.  Press.  Center the pocket on the right side of one lining piece, pin and sew along the sides and bottom close to edges.


Sew the two lining pieces together along sides and bottom using a 3/8" seam allowance and leaving a 6" opening along bottom edge.  Box bottom corners like for the bag.  Press seams to one side.  Leaving wrong sides of lining out, fit over bag right sides together, matching raw edges at the top.  Pin and sew 1" seam along the top raw edges. 


pin lining to bag


Turn right sides out through opening.  Turn raw edges of opening under, pin and sew closed.  Push lining into bag.  Topstitch 3/4" along the top edge of bag.  Enjoy!


panel tote bag


Stacy


Fabrics used are from Lori Holt's Flea Market collection by Riley Blake available here in my shop

Tuesday, March 31, 2020

LIttle Fabric Trays


charm square trays


I made a bunch of these little fabric trays to give to friends at a quilt retreat a few weeks ago, and everyone loved them.  They're fun little gifts to make that just take a few minutes, and they look so cute holding pins, clips or whatever.  I use mine for holding a small pin magnet (which got a cute slipcover to match).


singer 301a sewing machine with charm square tray


I used A Spoonful of Sugar's easy tutorial, only making two small changes - I used two regular charm squares instead of linen and lawn fabrics, and closed the corners by machine instead of hand-stitching with embroidery floss.  Embroidery floss does add a nice touch, I just needed them done in a hurry.


charm square fabric tray


These would also be fun to give out with a few treats like wrapped chocolates or cookies.  Let me know in the comments what other ideas you have for them.   


Tuesday, March 17, 2020

Best Sewing Pins for Quilting


Are you a pinner like me? I find that when I pin, I get better results and have fewer
seams to rip out. And I like really good quality pins, since cheaper ones are often dull 
and not as smooth. Since many of you are pinners like me, I thought you might like
a comparison of some of the most popular pins for quilt-piecing.

Below are four different pins - three Clover brand, and one Tulip.  Here are the pros
and cons of each:  

https://www.etsy.com/listing/762858748/clover-quilting-pins-glass-head-sewing?ref=shop_home_active_9

CLOVER GLASS HEAD PINS #2509
These pins are thin and strong; great for quilt-piecing
Stats: .5mm thick (fine)  X 48mm (1⅞”) long  
Pros: Long, thin and sharp; can be ironed over
Cons: Hard to spot when dropped on the floor

https://www.etsy.com/listing/764513796/clover-glass-head-sewing-pins-extra-fine?ref=shop_home_active_8


CLOVER GLASS HEAD PINS #2507
These pins are super thin and strong; great for quilt-piecing
Stats: .4mm thick (extra fine) x 36mm (1⅜”) long
Pros: Very thin and sharp; can be ironed over
Cons: Hard to spot when dropped on the floor  


https://www.etsy.com/listing/778399441/clover-flower-head-sewing-pins-100-per?ref=shop_home_active_7&crt=1
 

CLOVER FLAT HEAD PINS #2506
These pins are long, and strong enough to hold thicker fabrics 
Stats: .7mm thick x 54mm (2⅛”) long
Pros: Strong, long and sharp; easy to find when dropped
Cons: Not as thin as others; can't be ironed over


https://www.etsy.com/listing/778412865/tulip-sewing-pins-long-thin-and-sharp?ref=shop_home_active_6&crt=1
TULIP CELLULOSE-HEAD PINS
My personal favorite; strong and thin, and glide through fabric
Stats: .45mm thick x 48mm (1⅞”) long 
Pros: Thin, long and sharp; easy to see when dropped
Cons: Pricey; can’t be ironed over


There you have it. What are your favorite pins for quilt-piecing?

Each of these pins is available in my shop, just click on any of the photos. 
 Sign up for my email list here and get 15% off your first order!
.

Tuesday, July 30, 2019

How I Make Time to Sew


When my kids were young, it seemed like I had more time to sew.  When they took naps, I would hurry to the sewing machine; while I waited in school parking lots, I'd do some hand sewing.  I basically squeezed in sewing whenever I could.

Life seems busier now, and even though most of my kids have grown up and moved out, I have trouble finding time to sew.  Maybe it's because I'm more in charge of my time now, I just keep putting other things ahead of my sewing projects.  

I needed to try something different.  I decided to try sewing 15 minutes a day - consistently.  And you know - it has really helped!  I'm kind of amazed at what I can get done in that short amount of time.  For example, while working on a sample for the shop recently, I found that in 15 minutes I could do one of the following:

  • Clear off my work area and thread my machine
  • Cut thirty 5" squares
  • Slice 36 sewn half-square triangle units and press open
  • Trim 36 half-square triangle units
  • Rip out a wonky seam, then pin and sew back together
  • Pin and sew 2 rows together
You get the idea.  And the time really adds up - 15 minutes per day x 6 per week = 1 1/2 hours!  Even if you just sew 4 times a week, that add up to an hour. 

Some tips to make this method successful:
  • Leave your sewing machine set up.  If you can't do this, then make it as easy as possible to get to (like keeping it in the room you'll be using it)
  • Keep your project and supplies out and together, preferably near your sewing machine.  If you have to put them away, clear storage boxes or those clear bedding bags work great
  • Think ahead.  When your 15 minutes is done, think about what you'll need for the next step and try to have the supplies ready to go (ironing board, seam ripper, full bobbin, etc)
  • Leave yourself a note as to what the next step is
  • Consistency is key; put a reminder on your phone is you need to 
If you're having a hard time getting to your projects, try sewing for 15 minutes a day.  I think you'll be surprised at how much you get done.

xoxo Stacy 


See what I'm up to on Instagram

Sign up for my shop email newsletter here and get 15% off your first order!